

Every Light Cone in the Forgotten Hall Store costs the same, but they do not deliver the same account value. A new S1 costs 200 Lucent Afterglow, while building a cone from zero to S5 costs 1,000. That makes speculative purchases surprisingly expensive.
This guide ranks all 16 HSR Forgotten Hall Light Cones available in Version 4.3. It focuses on the questions players actually need answered: which cone to buy first, who can use it, whether S5 is worth the cost, and which options should remain temporary early-game gear.
Contents
- 1 ⚡ Quick Answer
- 2 🛒 How the Forgotten Hall Store Works
- 3 🏆 All 16 Forgotten Hall Light Cones Ranked
- 4 ⭐ Best First Purchases
- 5 🎯 Specialist Picks That Can Become #1
- 6 💠 S1 vs S5: Buy a New Cone or More Copies?
- 7 ❌ Common Lucent Afterglow Mistakes
- 8 🔎 Sources & Update Notes
- 9 ❓ FAQ
- 9.1 What is the best Forgotten Hall Store Light Cone in HSR?
- 9.2 How much Lucent Afterglow does an S5 Light Cone cost?
- 9.3 Should Gallagher use Quid Pro Quo or What Is Real?
- 9.4 Is The Day The Cosmos Fell better than The Seriousness of Breakfast?
- 9.5 Is Mushy Shroomy’s Adventures worth S5?
- 9.6 Should I buy a new S1 or upgrade an existing cone to S5?
⚡ Quick Answer
Quid Pro Quo is the safest first Forgotten Hall Light Cone for most accounts—but only when an active Abundance unit can use its Energy support. Prioritize The Day The Cosmos Fell for weakness-matched Erudition DPS, Final Victor for multi-hit Hunt carries, Mushy Shroomy’s Adventures for Yao Guang, and Victory In a Blink for Hyacine or Remembrance Trailblazer. If none immediately improves an active team, save your Lucent Afterglow.
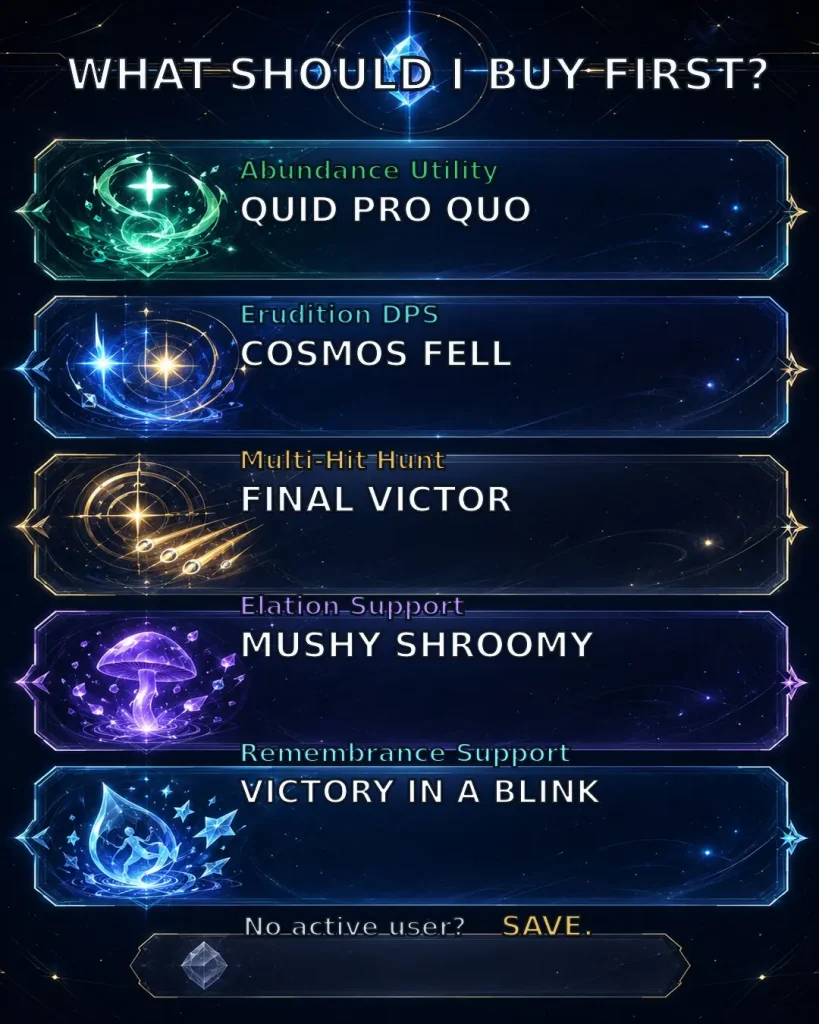
Image: Honkai: Star Rail © HoYoverse
How these cones were evaluated: This is an account-planning ranking based on released Version 4.3 effect descriptions, passive uptime, compatible user count, S1-to-S5 improvement, and competition from free, event, and commonly owned gacha alternatives. It is not presented as a controlled damage test of every cone on every character.
🛒 How the Forgotten Hall Store Works
The shop’s official name is Light Cone Manifest. It uses Lucent Afterglow and can be accessed through the Astral Express Messenger or Treasures Lightward after the relevant content is unlocked.
| Shop Rule | Current Detail | Planning Impact |
|---|---|---|
| Price | 200 Lucent Afterglow per copy | Every additional superimposition has the same currency cost |
| Stock | Unlimited | No need to rush because of a shop reset |
| Inventory | 16 four-star Light Cones | Includes Version 1.0–4.0 additions |
| New S1 | 200 | Best for filling an immediate equipment gap |
| S1 to S5 | 800 more | Four additional copies are required |
| Fresh S5 | 1,000 total | Do not begin without a confirmed long-term wearer |
ℹ️ Check free copies first: Echo of War can randomly drop the seven original Version 1.0 Light Cone Manifest cones, including Quid Pro Quo, Fermata, Past and Future, and The Seriousness of Breakfast. Newer Version 2.0–4.0 cones are not part of that normal weekly drop pool, although some have one-time mission or progression rewards. Check the source description of the specific cone before calculating its S5 cost.
Store comparison: Lucent Afterglow is separate from Herta Bonds. If both shops offer an option for the same character, compare the result with the Herta Store Light Cone priority guide before spending either currency.
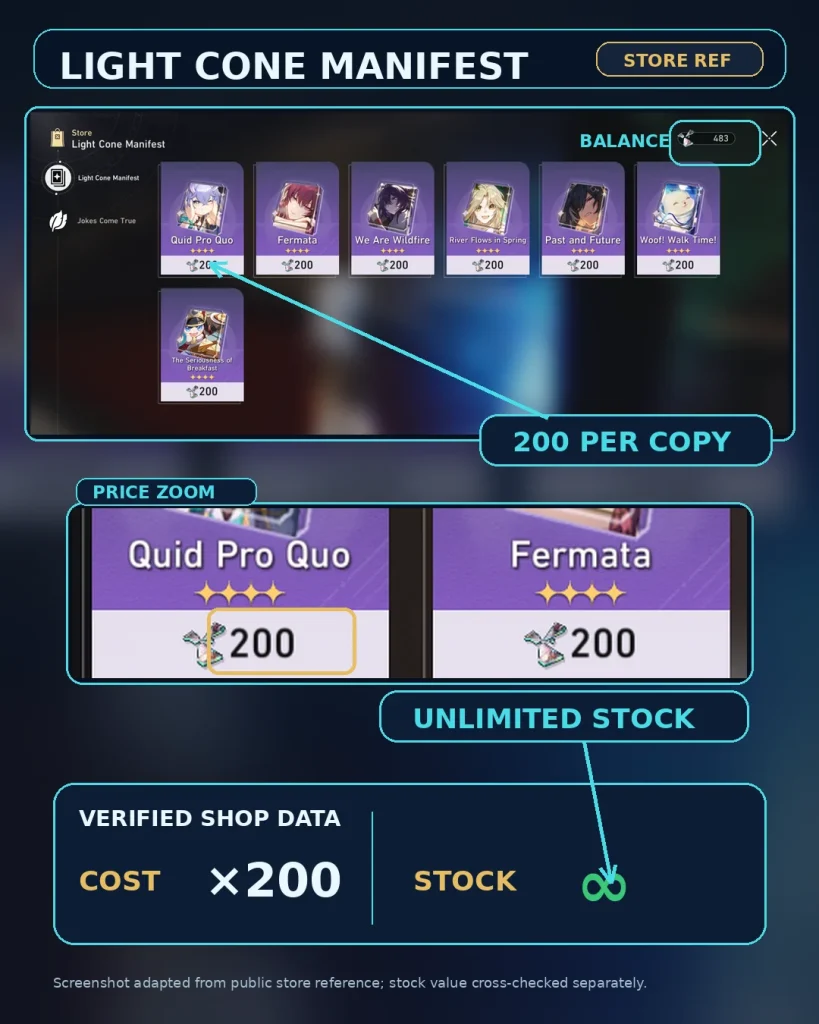
Image: Honkai: Star Rail © HoYoverse
Light Cone Manifest store reference. Cost and stock information cross-checked with public HSR databases.
How to Earn Lucent Afterglow
Lucent Afterglow is available through Forgotten Hall and rotating endgame modes such as Memory of Chaos, Pure Fiction, and Apocalyptic Shadow, as well as Echo of War rewards. For most accounts, improving two stable teams is more valuable than forcing a weak cone upgrade. If Memory of Chaos is the main bottleneck, first identify whether the missing piece is damage, sustain, team synergy, or build quality.
🏆 All 16 Forgotten Hall Light Cones Ranked
The order below is a default account-value ranking, not an absolute damage chart. A specialist cone should move to the top when it directly completes an active team.
Ranking weights
- Passive uptime — 30%: How naturally the full effect remains active.
- Compatible user pool — 25%: How many relevant characters can use the cone well.
- S1-to-S5 improvement — 25%: Whether four more copies create a meaningful upgrade.
- Replacement difficulty — 20%: How easily free, event, or commonly owned cones replace it.
| Rank | Light Cone / Path | Best Users & Use | Buy Priority |
|---|---|---|---|
| 1 | Quid Pro Quo Abundance | Gallagher, Luocha, Lingsha and other fast healers supporting Energy-hungry allies | High with an active user Early: High Endgame: High but team-dependent |
| 2 | The Day The Cosmos Fell Erudition | The Herta, Jade, Himeko, Herta and other AoE DPS when at least two enemies share the matching Weakness | High if condition is reliable Early: Medium Endgame: High in matched stages |
| 3 | Final Victor The Hunt | Topaz, Moze and multi-hit Hunt carries with enough CRIT Rate to build four stacks | High for a confirmed wearer Early: Medium Endgame: High when fully stacked |
| 4 | Past and Future Harmony | Bronya and speed-tuned Sparkle teams where the intended DPS acts immediately after the wearer | High with correct turn order Early: Medium Endgame: High but rotation-sensitive |
| 5 | Mushy Shroomy’s Adventures Elation | Yao Guang and support-oriented Elation setups that can maintain the Elation Skill vulnerability | Very High for Elation support Early: Account-specific Endgame: High in Elation teams |
| 6 | Victory In a Blink Remembrance | Hyacine and Remembrance Trailblazer; also usable by other ally-targeting memosprite supports | High with natural trigger Early: Account-specific Endgame: High for support users |
| 7 | What Is Real? Abundance | Gallagher and Break-oriented healers that value personal Break Effect and Basic ATK self-healing | Medium–High Early: High for Gallagher Endgame: Build-dependent |
| 8 | The Seriousness of Breakfast Erudition | Himeko, Herta and Serval as a straightforward wave-clearing or early-account option | Medium Early: High Endgame: Medium due to stronger alternatives |
| 9 | It’s Showtime Nihility | Black Swan, Sampo or Guinaifen when the build applies debuffs and reaches at least 80% Effect Hit Rate | Medium if both conditions are met Early: Low Endgame: Medium |
| 10 | Fermata Nihility | Kafka, Sampo and early DoT/Break builds attacking enemies with Shock or Wind Shear | Medium as a bridge cone Early: High Endgame: Low–Medium |
| 11 | Dreamville Adventure Harmony | Rotation-specific Harmony setups where allies repeat the last action type used by the wearer | Low–Medium Early: Low Endgame: Situational |
| 12 | Flames Afar Destruction | Blade or another HP-loss Destruction wearer that activates the trigger without forcing unsafe play | Low–Medium Early: Medium Endgame: Niche |
| 13 | Destiny’s Threads Forewoven Preservation | DEF-scaling Preservation builds seeking Effect RES and personal damage rather than stronger team protection | Low Early: Medium Endgame: Low |
| 14 | River Flows in Spring The Hunt | Yanqing or another shielded Hunt attacker that can avoid direct and periodic damage | Low Early: Medium Endgame: Low because the buff is fragile |
| 15 | Woof! Walk Time! Destruction | Hook and specific Destruction builds attacking enemies with reliable Burn or Bleed uptime | Low Early: Medium Endgame: Low |
| 16 | We Are Wildfire Preservation | Fire Trailblazer or March 7th when a new account needs opening-turn protection in short fights | Very Low to buy Early: Medium–High Endgame: Very Low |
⚠️ Ranking rule: Do not buy the list from top to bottom. An unused rank-one cone provides less value than a rank-six cone that completes an active team.
📅 Banner planning note: Light Cone Manifest cones are permanent shop purchases and do not require Stellar Jade. Character banners only matter when the intended wearer is not yet owned. Before buying a specialist cone for a planned character, confirm that character’s released kit and rerun status in the HSR Banner History guide. Do not buy future compatibility based on leaks or an unreleased kit.
⭐ Best First Purchases
1. Quid Pro Quo — Safest Account-Neutral Pick for an Active Abundance User
At the start of the wearer’s turn, Quid Pro Quo restores Energy to one random ally below 50% Energy. The value rises from 8 Energy at S1 to 16 at S5.
It ranks first because team Energy is difficult to replace and remains useful across many archetypes. It is not an unconditional first purchase, however. The target is random, no effect occurs when every ally is above the threshold, and some healers already prefer a cone that improves their own rotation or healing.
- Buy when: an active Abundance wearer takes frequent turns and important allies regularly fall below 50% Energy.
- Delay when: Echo of War already supplied copies, the passive rarely finds a target, or the healer needs a more reliable personal effect.
- S5 priority: High only after S1 produces useful Energy in actual rotations.
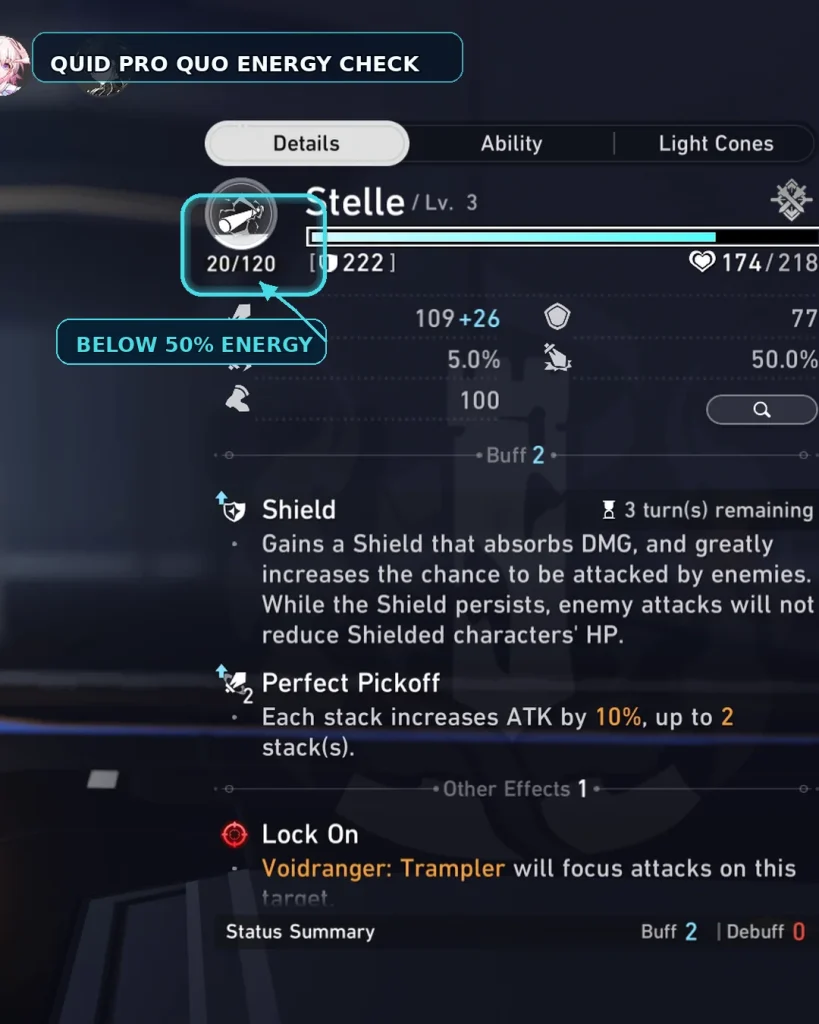
Image: Honkai: Star Rail © HoYoverse
2. The Day The Cosmos Fell — Best Weakness-Matched Erudition Pick
At S5, The Day The Cosmos Fell grants 24% ATK. When an attack affects at least two enemies with the wearer’s corresponding Weakness, it also grants 40% CRIT DMG for two turns.
It has a higher ceiling than The Seriousness of Breakfast in controlled multi-target stages, but its value falls sharply against a single target or mismatched enemy waves. Buy it for a specific Erudition DPS and a repeatable matchup, not merely because its S5 numbers are larger.
3. Final Victor — Best for Multi-Hit Hunt Carries
Final Victor grants 20% ATK at S5 and builds one Good Fortune stack after each CRIT hit. Four stacks provide up to 48% CRIT DMG, but the stacks disappear at the end of the wearer’s turn.
Topaz and other multi-hit Hunt characters can build the effect more naturally than single-hit attackers. Check whether Cruising in the Stellar Sea or another owned Hunt cone already covers the same role before spending 1,000 Lucent Afterglow.
4. Past and Future — Strong Only with Controlled Turn Order
After the wearer uses their Skill, the next acting ally receives a damage bonus of 16% at S1 or 32% at S5. Bronya can use this well when the DPS acts immediately after her, but enemy delays, action advance, or incorrect Speed tuning can send the buff to the wrong unit.
Before buying additional copies, confirm the intended rotation with the Bronya Speed tuning guide.
🎯 Specialist Picks That Can Become #1
Mushy Shroomy’s Adventures — Priority for Yao Guang
Mushy Shroomy’s Adventures increases the wearer’s Elation and applies an Elation-DMG vulnerability after the wearer uses an Elation Skill. At S5, it provides 20% Elation and makes enemies take 10% more Elation DMG for two turns.
For Yao Guang or another support-oriented Elation unit that maintains the trigger, the team-facing vulnerability can make Mushy more valuable than the general top-ranked cones. Without an active Elation wearer, it provides no usable account value.
Victory In a Blink — Priority for Hyacine and Remembrance Trailblazer
Victory In a Blink provides 12%–24% CRIT DMG. When the wearer’s memosprite uses an ability on an ally, it also increases all allies’ damage by 8%–16% for three turns.
The condition is the entire buying decision. Hyacine and Remembrance Trailblazer can activate the ally-target trigger naturally through their memosprite support actions, making Victory In a Blink a practical team-buffing option. By contrast, a damage-focused wearer whose memosprite only targets enemies may receive the personal CRIT DMG but fail to activate the teamwide DMG bonus consistently.
For a detailed comparison with Memory’s Curtain Never Falls and Hyacine’s signature, see the Hyacine 4-star Light Cones guide. Victory In a Blink is the best true 4-star option listed there, while Memory’s Curtain Never Falls is usually the stronger overall F2P choice.
What Is Real? — Personal Break Value for Gallagher
What Is Real? provides 24% Break Effect at S1 and 48% at S5. A Basic ATK also restores HP to the wearer. This supports Gallagher’s personal Break scaling and comfort, while Quid Pro Quo instead contributes Energy to the team.
| Gallagher Need | Better Store Cone | Reason |
|---|---|---|
| Faster team Ultimates | Quid Pro Quo | Provides Energy to an eligible ally |
| More Break Effect | What Is Real? | Up to 48% Break Effect at S5 |
| More self-sustain after Basic ATK | What Is Real? | Restores the wearer’s HP |
| Reliable, non-random personal effect | What Is Real? | Does not depend on an ally’s Energy threshold |
💠 S1 vs S5: Buy a New Cone or More Copies?
Coverage should usually come before superimposition. Buy S1 when it immediately fixes an active build; move toward S5 only after the cone’s condition proves reliable.
| Light Cone | S1 | S5 | Upgrade Verdict |
|---|---|---|---|
| Quid Pro Quo | 8 Energy | 16 Energy | High if eligible targets appear consistently |
| The Day The Cosmos Fell | 16% ATK + 20% conditional CRIT DMG | 24% ATK + 40% conditional CRIT DMG | High in weakness-matched AoE content |
| Final Victor | 12% ATK + up to 32% CRIT DMG | 20% ATK + up to 48% CRIT DMG | High for a multi-hit main carry |
| Past and Future | 16% next-ally DMG | 32% next-ally DMG | High only with stable turn order |
| Mushy Shroomy’s Adventures | 12% Elation + 6% vulnerability | 20% Elation + 10% vulnerability | High for an active Elation support |
| Victory In a Blink | 12% CRIT DMG + 8% team DMG | 24% CRIT DMG + 16% team DMG | High when the ally-target trigger works |
| What Is Real? | 24% Break Effect | 48% Break Effect | Medium–High for Gallagher |
🎟️ Store cone or signature? Use the S5 store cone when it already supports a reliable clear. Consider a signature only when it fixes a verified rotation, Energy, Speed, or kit-specific problem—not simply because it provides more personal damage. Check pity and guarantee with the HSR Pull Tracker guide before spending Stellar Jade.
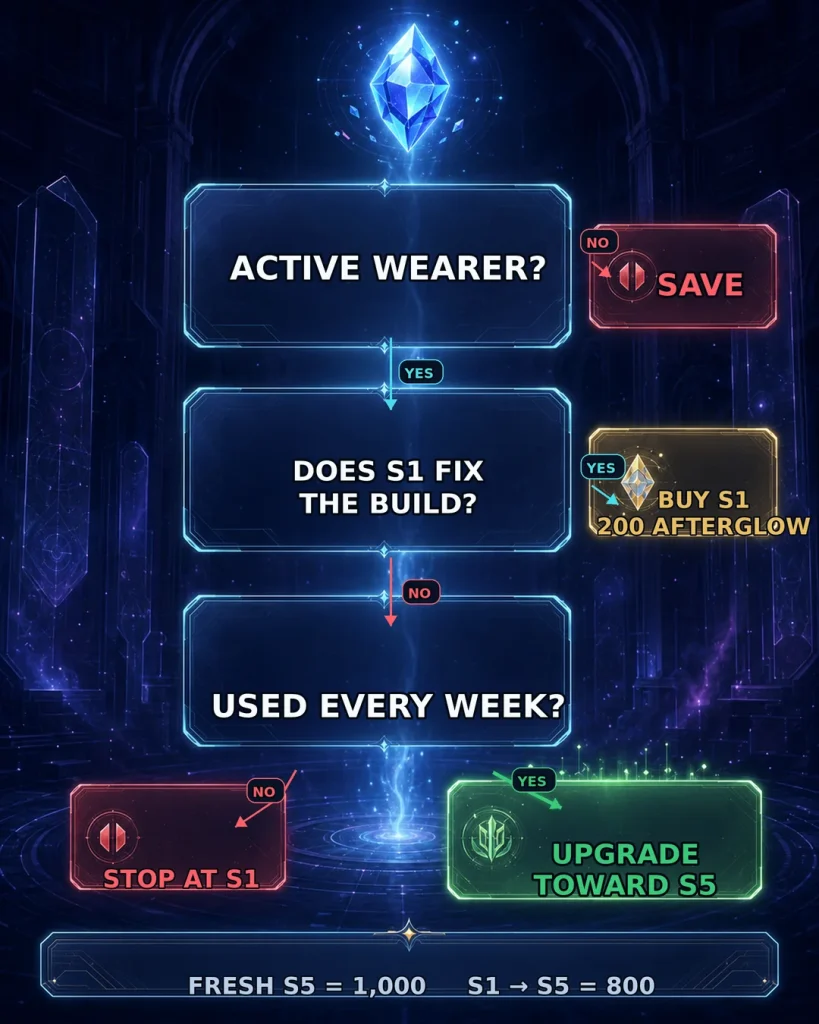
Image: Honkai: Star Rail © HoYoverse
Final buy-order checklist
- Check the inventory and free-copy sources first.
- Identify the character who will equip the cone immediately.
- Confirm that the character can activate the full passive.
- Buy S1 and test the rotation before purchasing four more copies.
- Prioritize specialist team value over a generic tier-list position.
- Save if no cone improves an active team.
❌ Common Lucent Afterglow Mistakes
- Buying one copy of all 16 cones. Collection coverage is not useful when most copies remain unequipped.
- Taking Quid Pro Quo’s first place as universal. It still needs an active Abundance wearer and an eligible ally below 50% Energy.
- Assuming every store cone can drop from Echo of War. The normal weekly Light Cone pool is limited to the seven original Version 1.0 cones.
- Upgrading to S5 before testing S1. Larger values do not fix an unreliable trigger.
- Checking the Path but not the kit. Victory In a Blink needs an ally-targeting memosprite action for its team buff.
- Ignoring early-game versus endgame value. Breakfast, Fermata, and We Are Wildfire can be useful transition gear without deserving long-term S5 priority.
- Duplicating a role already covered by Herta Store or event gear. Compare owned alternatives before investing 1,000 currency.
- Buying for an unreleased character. Wait for an official kit and released interaction data.
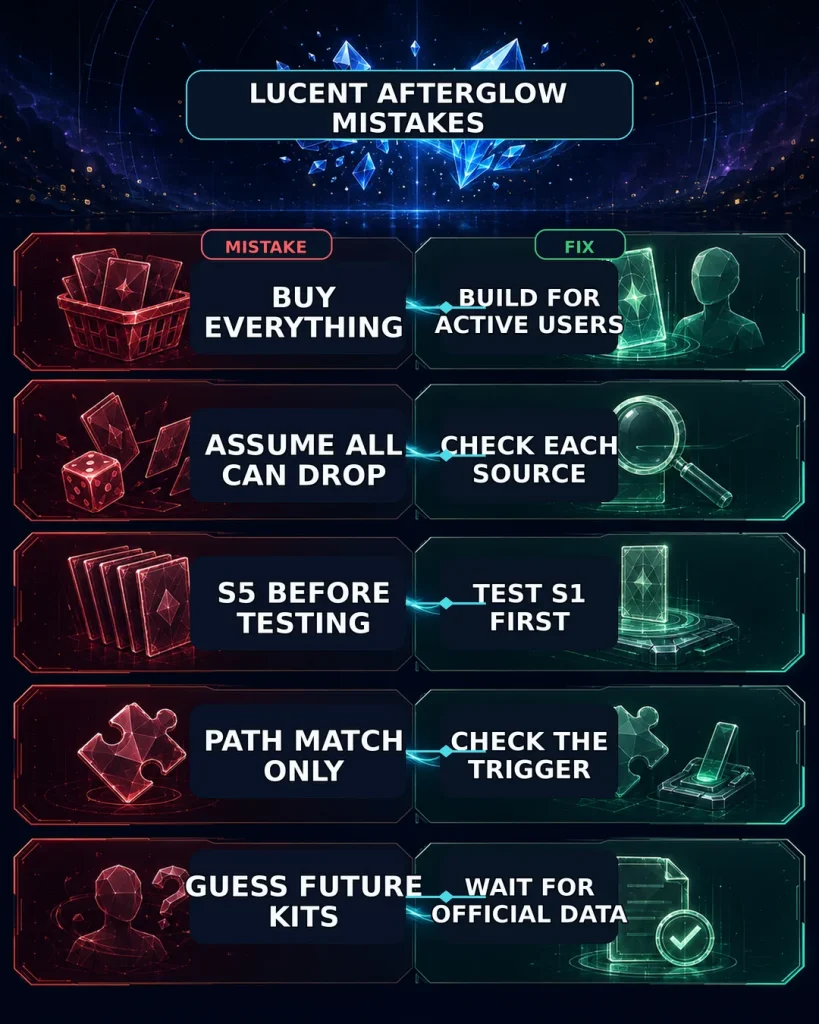
Image: Honkai: Star Rail © HoYoverse
🔎 Sources & Update Notes
Last fact check: July 11, 2026, during Honkai: Star Rail Version 4.3. The ranking should be reviewed whenever a new store cone, Path, free alternative, or major compatible character releases.
- Official HoYoLAB — Version 4.3 Update and Maintenance Notice — current-version verification.
- Official HoYoWiki — Echo of War — original weekly Light Cone reward pool.
- Honkai: Star Rail Wiki — Light Cone Manifest — inventory, costs, locations, and version additions.
❓ FAQ
What is the best Forgotten Hall Store Light Cone in HSR?
Quid Pro Quo is the safest general first purchase for an active Abundance user because it provides team Energy. The best account-specific choice may instead be Mushy Shroomy’s Adventures for Yao Guang, Victory In a Blink for Hyacine or Remembrance Trailblazer, or a damage cone that directly fits an active carry.
How much Lucent Afterglow does an S5 Light Cone cost?
A fresh S5 costs 1,000 Lucent Afterglow because five copies are required at 200 each. If S1 is already owned, upgrading it to S5 costs 800 more. Free mission copies and Echo of War drops for the original Version 1.0 group can reduce the required cost.
Should Gallagher use Quid Pro Quo or What Is Real?
Use Quid Pro Quo when team Energy and faster Ultimates matter more. Use What Is Real? when Gallagher needs Break Effect and personal self-healing. The better option depends on the team’s rotation rather than Gallagher’s stat page alone.
Is The Day The Cosmos Fell better than The Seriousness of Breakfast?
The Day The Cosmos Fell has the higher ceiling when at least two attacked enemies share the wearer’s corresponding Weakness. The Seriousness of Breakfast is easier to use across mixed waves and can be a better early-account transition cone.
Is Mushy Shroomy’s Adventures worth S5?
It is worth considering at S5 when Yao Guang or another active Elation support can maintain the Elation Skill trigger. Without an active Elation wearer, it should be skipped regardless of its S5 percentages.
Should I buy a new S1 or upgrade an existing cone to S5?
Buy a new S1 when it immediately fills an uncovered role. Upgrade an existing cone toward S5 when it is used regularly, activates reliably, and the higher values improve an important rotation or damage threshold. Otherwise, save Lucent Afterglow.